

Switching from Android to iPhone? Congrats! You’re about to enter a world of sleek design and intuitive features. But wait—before you dive into your new device, there’s one little hurdle: setting up your eSIM. It might sound like a techy puzzle, but don’t worry. With a few simple steps, you’ll have your new iPhone ready to rock in no time.
Think of it as a digital makeover for your phone. No more fumbling with SIM cards or hunting for that tiny pin. Instead, you’ll be zipping through the setup process like a pro. So grab your Android, hold onto your iPhone, and let’s turn this tech transition into a seamless experience that even your tech-challenged friends will envy.
Understanding eSIM Technology
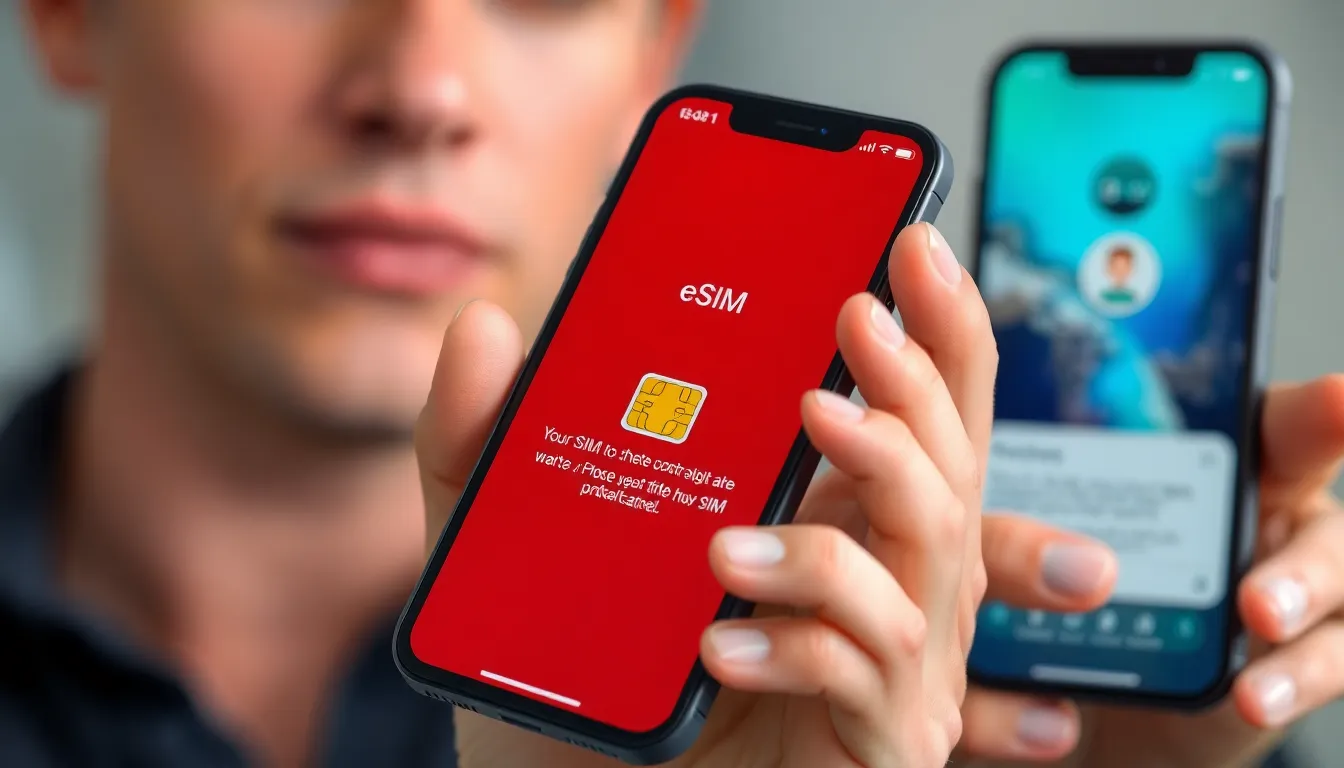
eSIM, or embedded SIM, revolutionizes mobile connectivity. It eliminates the need for a physical SIM card by storing operator profiles directly on the device. Users experience enhanced flexibility, allowing them to switch carriers without needing to purchase or insert a new SIM card.
The technology supports multiple profiles. Each profile represents different operators, granting convenience for those who travel frequently or wish to manage various numbers. Many smartphones, including the latest iPhone models, now integrate eSIM capabilities.
Setting up eSIM is straightforward. Users obtain a QR code or activation code from their carrier. After scanning the code with their iPhone, the eSIM profile installs instantly. This process simplifies mobile service management, enabling quick changes between networks.
Security is another significant aspect of eSIM technology. Embedded SIMs utilize unique identifiers and encryption methods that enhance the protection of user data. This advancement minimizes risks associated with lost or stolen physical SIM cards, making devices more secure.
The benefits extend beyond convenience and security. Users enjoy better network performance, especially in areas with limited coverage. eSIM often allows for more efficient network switching, which enhances overall connectivity.
Transitioning from Android to iPhone while using eSIM is easier than ever. Android devices may require different setups, but iPhone users can leverage the intuitiveness of the iOS interface. This compatibility ensures a smooth migration process, allowing for quick adaptation to the new device.
Prerequisites for Setting Up eSIM
Before setting up an eSIM on an iPhone after switching from Android, certain requirements must be met. Users should confirm they have everything necessary for a seamless transition.
Compatible Devices
Certain iPhone models support eSIM technology. Devices like the iPhone XS, iPhone XS Max, iPhone XR, and later models support eSIM functionality. Checking compatibility enhances the transition process and avoids potential issues. Users need to ensure their Android device also supports eSIM, facilitating the transfer of the mobile plan.
Necessary Information
Gathering vital information simplifies the eSIM setup. Users require the activation code or QR code provided by their carrier. This code often contains specific details linked to the mobile plan. Users should also verify their phone numbers, ensuring they directly correspond with the accounts held with service providers. Accessing this information creates a smoother transition from Android to iPhone.
Step-by-Step Guide to Set Up eSIM on iPhone from Android
Setting up an eSIM on an iPhone from an Android device is a seamless process. Follow the steps below for a smooth transition.
Prepare Your Android Device
Verify that the Android device supports eSIM technology. Locate the settings menu, and navigate to the “Network & Internet” section. Access the “Mobile Network” and search for “Advanced.” Look for “Carrier” information and confirm the eSIM profiles available. Save any necessary data, such as the activation code or QR code, provided by the carrier. Ensure that the Android device is connected to Wi-Fi to facilitate any additional downloads required.
Transfer Your eSIM Profile
Initiating the transfer requires scanning the QR code from the carrier. Open the camera app on the iPhone to scan the QR code directly. If the carrier supplies an activation code, select “Enter Details Manually” on the iPhone. Input the activation information as prompted. Complete any additional confirmation screens that may appear. Wait for the profile transfer to finalize before proceeding to the next setup step.
Activate eSIM on iPhone
Activating the eSIM involves selecting the new plan in the iPhone settings. Access “Settings,” then tap “Cellular” or “Mobile Data,” and select “Add Cellular Plan.” Choose the transferred eSIM profile. Outlook should display “Label Your Plan,” allowing users to name the plan for easy identification. Toggle on “Turn On This Line” to activate the plan, and confirm activation through any prompts. Enjoy immediate access to mobile services on the iPhone after successful activation.
Troubleshooting Common Issues
Occasionally, users encounter challenges when setting up eSIM on an iPhone from an Android device. Checking connection stability is crucial; ensure the phone has a reliable Wi-Fi or cellular connection during the activation process.
Review the QR code for clarity before scanning. Sometimes, blurry or damaged codes may prevent successful activation. If problems persist, consider manually entering the activation code in the iPhone’s settings.
Verify that the iPhone model supports eSIM functionality. The iPhone XS, XS Max, XR, and newer models accommodate this feature. Make sure the Android device’s eSIM also supports transfer; confirm compatibility with your carrier to avoid unnecessary complications.
Users should also check for software updates on both devices. Outdated software may affect the setup process. Updating to the latest version ensures access to crucial features and fixes.
Discard any previously installed profiles that might interfere with the new eSIM. Remove old plans or profiles in the Settings app to provide a fresh start for setup.
Frequent restarts of the device may refresh the connection, helping to resolve issues. If problems persist despite these steps, contacting the carrier support team is advisable.
Lastly, patience is important. While most setups occur quickly, some might take longer. Users should avoid rushing through the steps to ensure a seamless experience.
Transitioning from Android to iPhone can be a seamless experience with the right guidance. Setting up eSIM enhances this transition by simplifying mobile connectivity and offering flexibility in managing multiple profiles. Users can enjoy the benefits of improved network performance and enhanced security features that eSIM technology provides.
By following the outlined steps and troubleshooting tips, anyone can set up their eSIM with confidence. Embracing this digital upgrade not only modernizes their mobile experience but also showcases the innovative capabilities of their new iPhone. With a little patience and the right information, users will find that the switch is not just easy but also rewarding.


